
Solar Power on the Raspberry Pi
Here are some additional results from today from the RasPiConnect iPad app screen attached to the Raspberry Pi and Arduino on Project Curacao in the Caribbean.
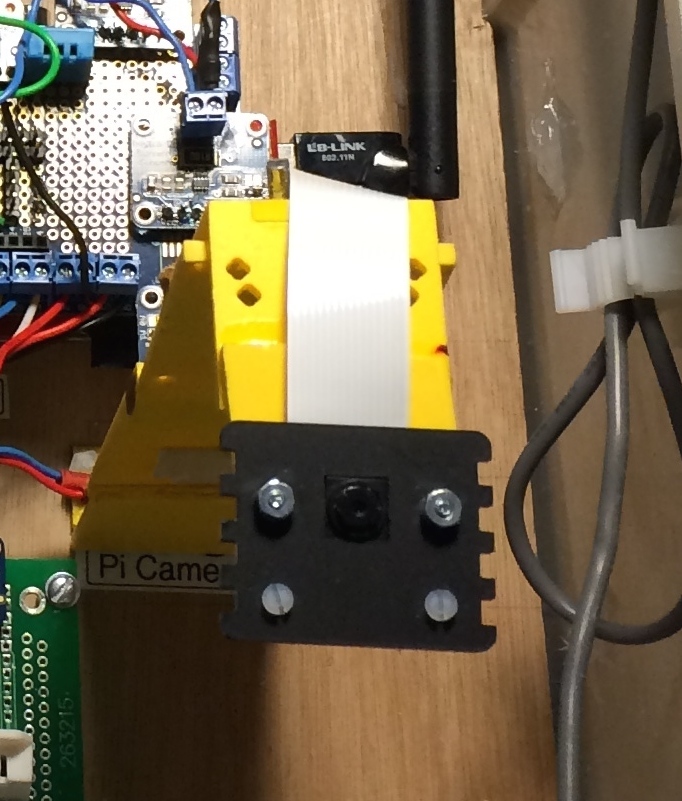
Pi Camera Picture
The first RasPiConnect screen (don’t you just love elaborate control panels? – We do) shows the current view from the Pi Camera Subsystem. A bit more cloudy today. We change the exposure type, email a picture and even do short videos (which just really takes a lot of power! Now that we have so much solar power (see Part 2), we are thinking about streaming video and making videos once a day with a new software upgrade to the Project Curacao Pi. We won’t be able to publish the links to get the video (because a bunch of people hitting the Project Curacao server would take it down quickly. It’s only a little Raspberry Pi Model A with a wireless connection to an ADSL internet connect), but we will publish some examples. Here is the first video we made on the Pi Camera Subsystem a couple of months ago. We really pulled the battery down during this session. The Pi shutdown two hours early to rest.
The camera is pointing at the sky because we had the box tilted back about a week ago to get more solar power.

The next RasPiConnect screen shows the values of the environmental gathering system on the Project Curacao box. Along with a great background picture of the ocean front in front of the box. Which will be in view of the box when we add two more solar power panels in September. Why are we adding two more? The Raspberry Pi works well with the amount of energy it is getting (the Arduino Battery Watchdog turns off the Pi when the battery gets too low and turns it on either based on time or if it is already supposed to be on, if the battery gets to a high enough voltage), but the Arduino does not recover from a low battery connection and short of adding a Dead Man switch, the fastest way to fix it is to add another panel. Here are the thresholds for starting up and shutting down.
PI_BATTERY_SHUTDOWN_THRESHOLD = 3.70 # 20%
PI_BATTERY_STARTUP_THRESHOLD = 3.95 # 30%
This is called hysteresis and keeps the Arduino from turning on and off the Pi rapidly. One tricky part of setting these constants was that when the Pi turns on, it pulls the battery voltage immediately down a bit so we had to account for that.

Just a couple things about this screen. It’s got a rainbow on it. Very colorful. You can see the AMS2315 outside temperature and humidity values. The sensor is in full sunlight at this angle and is baking the humidity sensor. Based on the curves, it comes back at night.
That’s our monthly update on what is going on with Project Curacao. Another session in August and then we will be there in September to upgrade the system with new sensors, more solar panels and a new wind turbine.