Hi everybody, Dr. John Shovic here again as part of the SwitchDoc Labs, Weather Week. We’re going through a whole bunch of weather instrumentation that both professionals and amateurs use to measure things about the weather. Weather affects all of us, right? We’re actually going to talk about wind vanes, which measure the direction the wind is blowing.

Some of you may know that I actually co-founded a bank about 15 years ago. No, no, I’m not a banker. I’m still a technology guy. I’ve been on the board of directors for a long time and we’re really interested in bank customers.
That leads me to my joke of the day. So tell me, do you know where snowmen put their money?
Why in the snowbank!
Yeah OK, so that wasn’t very good. I’ll try to come up with a better one for next time.
So today we’re going to be talking about wind vanes. Now, let me just give you a quick overview of all the different weather instruments were talking about during SwitchDoc Labs, Weather Week. Last time we talked about the anemometer, which measures wind speed. Next time we’re going to talk about the rain bucket, the self emptying, tipping rain bucket and how you interface to that with your computer. And then a little while later we’re going to talk about our Outside Temperature and Humidity Sensor and how you connect that into your computer, which is pretty cool and very accurate. Then we’re going to talk about the SwitchDoc Labs Weatherboard which allows you to put all sorts of cool things together and connect them up to your Raspberry Pi, including the weather instruments we’re talking about today.
So, about the wind vane. Which direction is the wind blowing? You know, sometimes it’s important to know that because you can see storms coming in, or you want to know how to put up your flags and all that sort of stuff. It’s a pretty cool little instrument. We’re going to be talking about how this works. OK, so what are we going to talk about how it works, the fact you need an analog to digital converter, which is a pretty big set of words, but I gave a talk about a week ago on the analog to digital converters and what they are and you can look that up here on SwitchDoc Labs YouTube channel to get a handle on that.
Then finally we’re going to talk about some of the other ways you can measure wind speed in addition to using just a wind vane.

So let’s launch right into this. This is a wind vane. It looks very much like the wind vanes that have been on top of barns for many, many, many years. The wind blows and because of the string of this flat back here, it will eventually stabilize on which direction the wind is blowing. You mount it so north is pointing north. There’s a little N on this somewhere and you mount it up there and then your computer has to read it, and that’s where we’re going to start talking about the way this works.
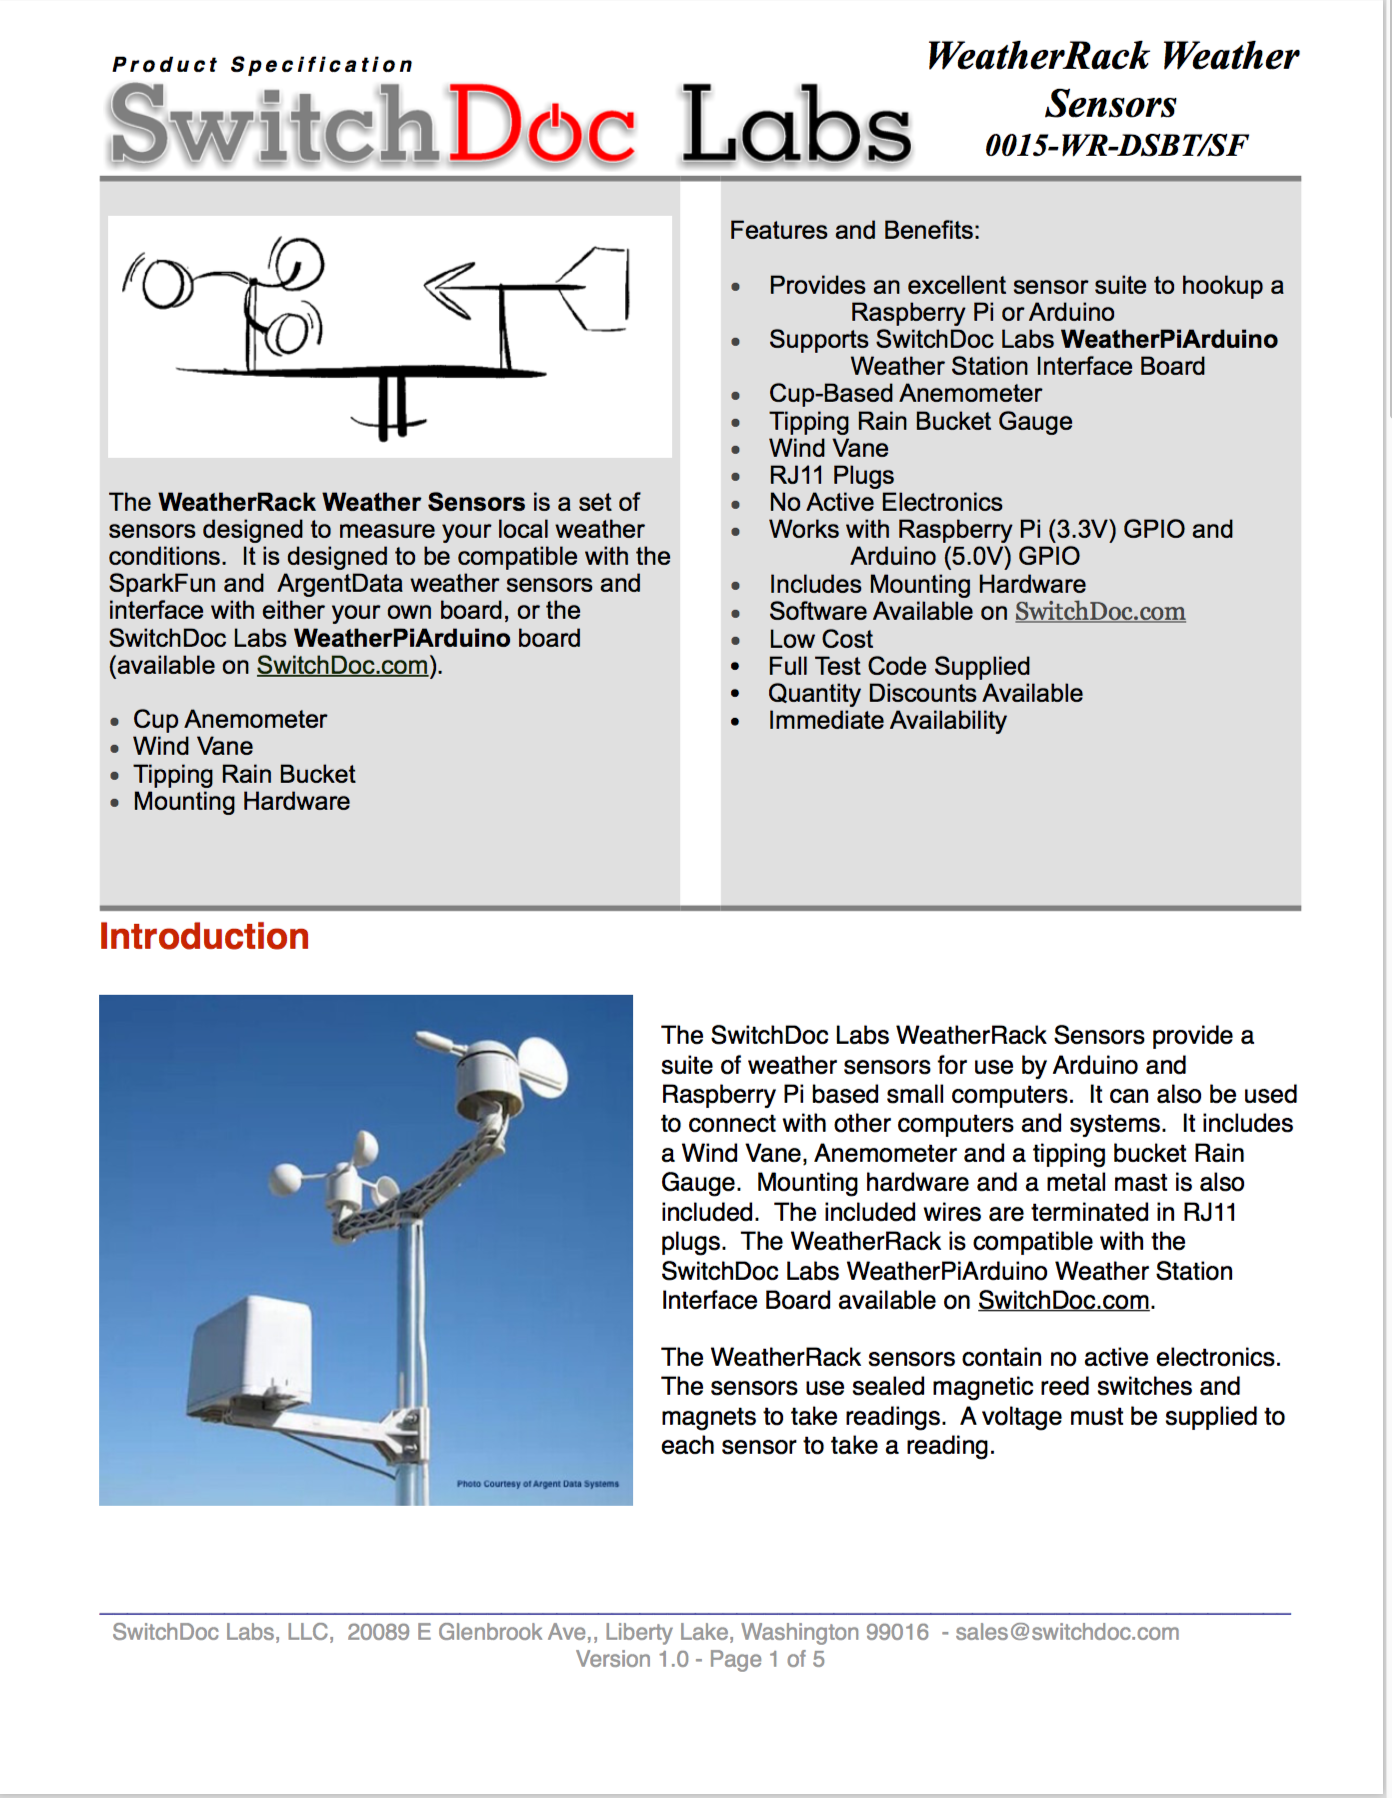
How does this look to a computer? I want to show you some boring documentation here. This comes out of a SwitchDoc Labs kit where you have the wind vane, the rain bucket and the anemometer, and it’s called the Weather Rack. And here’s a picture from the specification.
What I want to point out to you is this little diagram from page 2 of the specification. This shows you how the wind vane works, except I need to explain it a little bit. How it works is there’s 8 little switches inside the wind vane. As the wind vane moves around a little magnet inside the wind vane, very similar to the anemometer, will go over each one of these 8 switches. And what it does, it switches in a different resistor. Now we don’t have to talk about resistors and capacitors and things like that. Resistors resist current, but when you have current going through a resistor, it produces a voltage.
What you do as that little magnet goes around in there and stabilizes on something. It connects a couple of resistors together, one or more resistant together here and that creates a certain voltage and the resistors are set up in such a fashion that everyone of 16 directions has a different resistance value, so as it turns around here, it changes based on the location. Since we have it connected to a known voltage, 5 volts or 3.3 volts coming off your computer, we can tell by looking at the voltage in a voltage divider effectively measuring the current, we can tell which resistor has been clicked. Now that creates a voltage. Now what is the voltage? 
So we have two things in the computer world. We have digital, which are 1’s and 0’s and analog voltages, which vary between 0 and 5 volts in this case, or 0 and 3.3 volts if you hook it up to a Raspberry Pi, but generally it is between 0 and the power supply value. I’m just going to say 5 volts for the rest of this talk just to understand in some cases you’d have 3.3 volts on it. So the voltage varies between 0 and 5 volts and depending on what resistor you have connected, the voltage will vary between 0 and 5 volts. So by looking at the voltage and comparing it to a table, we can actually determine which direction our wind vane is pointing. If I had a Ohm Meter hooked up to this right now, you could actually see the resistance.
So what does this look like to a computer? Remember last time we had talked about digital being 0’s and 1’s. Now, from a technical viewpoint, everything is analog, but to a digital engineer, to the way we play with computers, we abstract these to 1 and 0 and all voltages are either 1 or 0 and you kind of stay away from the middle of where it could be either one. That’s the way digital works. Remember computers deal with 1’s and 0’s.
So what we have to do, we have to convert this voltage into a digital value. And we do that by using the magic of an analog to digital converter. It converts an analog signal to digital numbers. Now on the Arduino, which has an analog to digital converter built in, which we’ll look at in a moment, has 10 bits of accuracy. That’s 1024 values. So you read this 1024 bit value and scaled it between 0.0V and 5V (0 = 0.0V and 1023 is 5V). 
Each one of the wind directions follows this little table here, which I’m not going to bother with, but it’s in the specification for the Weather Rack and we can take that information and by knowing what voltage is there, we can convert it to wind direction. So all pretty simple. Once we have it in the computer, we know what the wind direction is. So let’s talk just a little bit about what a system like that looks like. Here we have the wind vane and we get a voltage off there, we know what that voltage is and we actually measure that by using the ADC, the analog to digital converter.
And then it goes to our computer. So we measure the voltage on the Wind Vane, then it goes in the ADC and then the analog to digital converter converts from analog to digital 1’s and 0’s and sends it to the computer and then we can interpret that as what the wind direction is by looking at those values.
Woohoo! We can now read the Wind Direction.
Let’s look at what some of this stuff looks like in terms of what an analog converter is. We spent a lot of time in a recent talk talking about the way analog to digital converters work. So, I’m just going to briefly talk about this. If you have an Arduino, you’ll notice down here at the bottom it will say Analog IO
You have 10 channels of Analog IO. These are 10 bit analog to digital converters, so it converts analog signal into 0 to 1023. Knowing what volts you’re at, 5 volts n this case. You can determine what the voltage is. Then you can look at your table and say, the wind is going south. So with an Arduino, it’s really easy to hook up a wind vane because the analog to digital converter is already built in. Here’s a Raspberry Pi. A Raspberry Pi is a much more complex machine, and it has a lot of software on it. You can do amazing cool things with it. Just liking a new cool things with an Arduino. A Raspberry Pi does not have an analog to digital converter built in, unlike the Arduino. What that means is we’re going to have to add something to it in order to be able to talk to the wind vane, and we do that by adding a little board to it.
Here it is. This is a 16 bit analog to digital converter. 16 bits means we get a lot more accuracy than 10 bits the wind vane, it’s pretty marginal in terms of being able to distinguish all the different voltages. And if you get some noise in the system or something, you’ll point the wrong wind direction. That problem pretty well goes away with the 16 bit analog to digital converter. This is based on that wonderful ADS 1115. So it’s four channels of 16 bits. So you have four really cool analog ports that you can put on all sorts of interesting devices. This is a little SwitchDoc Labs product that sells for about $15. You hook this up to your Raspberry Pi and then suddenly you have the analog to digital conversion available. You plug the Weather Rack or plug the wind vein into this.
And then you can take that, once again, we change it in 16 bits this time, so it goes from 0 to ~ 65,000, which is 16 bits and you can figure out what the voltage is by looking at the ratio. In this case, 2.5 volts, halfway between 0 and 5 volts would be 32,000 instead of 512 as on the Arduino. So you need to know the number of bits you have in your analog to digital converted to do that little piece of math.
Then you take the 2.5 volts, look at your table and you say yes, the wind vane is pointing south. So you can use that information for all sorts of stuff. So that’s the way a wind vane works. It’s a very cool little instrument and inexpensive too. So what about some of the other ways people will measure wind direction? 
Well, you know, you can measure wind direction with a wind sock and you can rotate that around and you could actually look at that. You can have a big propeller on the front of this and get wind speed. And wind direction out of one particular instrument. 
We choose to use an anemometer, which is a separate instrument. You can also do it in a couple of cool other ways. One of those real cool other ways is to use a bunch of ultrasonics. You have the ultrasonic transmitters in a circle. And by looking at the doppler effect, you can actually tell, well the wind’s coming from this way. Remember, you’re a little computers really fast and can measure the speed of sound very easily. So little shifts in the speed of sound can tell you the direction through that. 
That’s really cool. So let’s summarize what we’ve been talking about. You found the wind vane. We know how it works, there’s a little switches in here, connects up to resistors, the resistors, then are read in through an analog to digital converter, converted into the digital domain inside your computer. And we look at a table to determine in the case of the Arduino, we know 512 degrees, that’s south and north is a different value. We can also do this with a Raspberry Pi by using an outside analog to digital converter like the four channel device shown above and we can hook that up to the Raspberry Pie and suddenly your Raspberry Pi knows what wind direction it is. So you know, we’re almost getting ready to build a weather station, right? We learned in the last talk about anemometers and the wind speed and now we know how to do wind direction. So there you have our talk on weather instruments today. This is the way a wind vane works.
Coming up next, we’re going to talk about that nasty little rain bucket. So thank you very much everybody today, until next time at SwitchDoc Labs.